Introduction to GMRS Communications for Emergency Preparedness
When Hurricane Helene tore through the mountains of Tennessee and North Carolina, I lost contact with my brother and his wife who live in the hardest-hit area. With reports of massive flooding, blocked roads, and swift water rescues coming in, I couldn’t just sit and wait. I called my brother-in-law, and within hours we had a plan together to head down and check on them ourselves. One of my responsibilities was putting together our communication package — and it turned out to be one of the most important tools we brought with us.
In this post, I want to walk you through what happened during that trip and use it as a jumping-off point to teach you the basics of GMRS radio communications. Whether you’re prepping for a natural disaster, planning a search and rescue effort, or just want a reliable way to stay in touch with family when cell service goes down, understanding GMRS can make a real difference.
Why Communication Planning Matters in an Emergency
During our trip into the disaster area, my brother-in-law, my nephew, and I found ourselves cutting and digging our way down a road that had been destroyed by the storm — fallen trees, broken poles, and washed-out sections everywhere. Often we weren’t even in visual range of each other. I would hike ahead to scout the road, mark areas that needed to be cleared, and identify neighbors — including elderly residents — who needed help first. Meanwhile, my brother-in-law and nephew worked behind me with chainsaws, clearing the priority spots I had flagged.
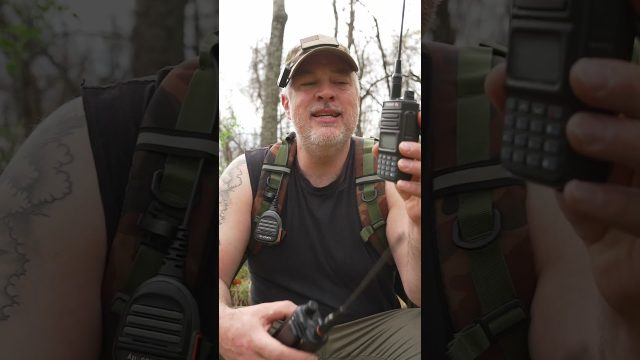
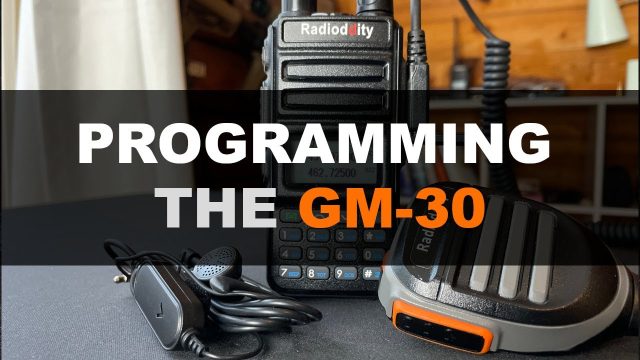
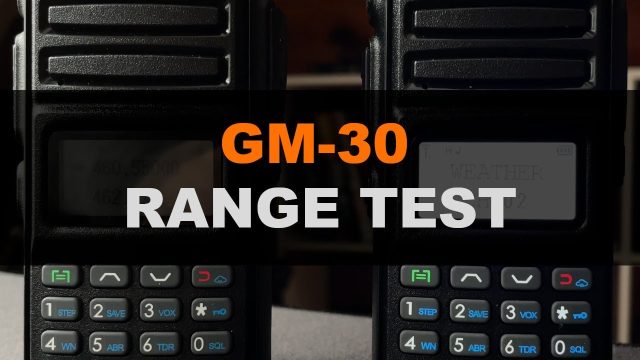
None of that coordination would have been possible without a simple, reliable communication system. We used two handheld GMRS radios — specifically the Radioddity GM-30, which is an affordable option available on Amazon and is roughly comparable to a Baofeng handheld radio. These were pre-programmed ahead of time, which meant we could start communicating immediately without fumbling with settings in the field.
It wasn’t just about talking to each other, either. While we were down there, we picked up an NOAA weather alert warning of a potential dam break upriver from our location. That single piece of information was critical — if that dam had failed, it could have put us in a very dangerous situation. Having a radio that could scan NOAA channels gave us situational awareness that we simply wouldn’t have had otherwise.
All of this reinforced something I already believed: having a solid communication plan is essential, not just for search and rescue operations, but for your own family’s survival during an emergency. So let’s break down exactly what GMRS is and the key terms you need to know to get started.
What Is GMRS?
GMRS stands for General Mobile Radio Service. It’s a licensed radio service, meaning you’re required to pay a $10 fee to the FCC for a license, which then lasts for 10 years. The licensing requirement exists because GMRS allows you to transmit at much higher power levels than unlicensed alternatives.
For comparison, FRS (Family Radio Service) — the kind of radios you might pick up at Walmart for camping or hiking — only allows transmission power between about 0.5 and 2 watts. GMRS radios, on the other hand, can transmit at significantly higher wattage. Since transmission power directly affects how far your signal can travel, this makes GMRS a much more capable option for emergency use, especially when you need to communicate across longer distances or rougher terrain.
Key GMRS Terminology You Need to Know
Squelch
Squelch is an adjustable setting found on most radios that mutes background static on incoming transmissions. Think of it like an old analog TV — when you were tuning in a weak signal, you’d get a lot of static (or “snow”) until the signal got strong enough to come through clearly. Squelch works the same way for radios: it filters out background noise so you’re not constantly hearing static.
The catch is that if someone is transmitting from far away or from a spot with poor signal (like deep in the mountains), a squelch setting that’s too high might completely block their transmission from coming through — even though they’re technically reaching your radio. In situations like that, you may need to lower or turn off your squelch and really listen closely. Personally, I keep my squelch setting around 3, which works well for everyday use.
Channel Mode vs. Frequency Mode
Most GMRS handhelds, including the Radioddity and Baofeng models, offer two main operating modes:
Channel Mode is the most common and simplest way to operate. GMRS has 30 designated channels. Channels 1 through 22 are your standard, everyday channels — you simply pick a channel (say, channel 17) and set every radio in your group to that same channel so everyone can communicate. Channels 23 through 30 are pre-programmed repeater channels, which we’ll touch on shortly. For most everyday use, sticking to channels 1–22 is all you need.
Frequency Mode lets you use the radio’s keypad to manually type in a specific frequency — this could be a ham radio frequency, a fire/EMS frequency, or virtually any frequency in use. While most GMRS radios won’t let you transmit on non-GMRS frequencies, you can still listen in. During my trip, I used this feature to monitor local fire and EMS communications in both Tennessee and North Carolina, as well as a local ham radio repeater channel, just to stay informed about what was happening around us. Frequency mode is also where you’d type in a custom GMRS frequency if you wanted more granular control beyond the standard channel list.
In short: channel mode is what gets you up and running quickly out of the box, while frequency mode gives you more flexibility and listening capability. For most people, channel mode is where you’ll spend the majority of your time.
CTCSS and DCS (Privacy Codes)
Two more important terms to understand are CTCSS and DCS — essentially the “privacy code” systems used on these radios.
CTCSS stands for Continuous Tone-Coded Squelch System, and DCS stands for Digital-Coded Squelch. Both serve a similar purpose: they allow you to add a code to your channel so that only radios sharing that same code will “open up” and let you hear the transmission clearly.
Here’s how it works in practice: if you set all your radios to channel 17 with no code, anyone else using channel 17 can hear you, and you can hear them — including potentially interrupting your conversation. But if you add a CTCSS or DCS code to channel 17, your radio transmits an inaudible tone along with your voice. Only radios programmed with that same code will unmute and let the transmission through. Someone else on channel 17 without the code might still technically receive the signal, but it won’t come through clearly for them unless they also know and set the correct code.
It’s important to understand these aren’t secret codes you make up yourself — there’s a standard, publicly known list of CTCSS tones and DCS codes to choose from (around 30 or so). So while this system helps keep your group’s channel a bit cleaner and more private, it isn’t true encryption. Realistically, though, most people aren’t out there trying to intentionally interfere with your communications, so this is mainly about reducing accidental cross-talk and background chatter.
NOAA Weather Alerts
Most GMRS radios come with NOAA weather channels built in, accessible with a dedicated button. NOAA (National Oceanic and Atmospheric Administration) broadcasts more than just routine weather updates — it also carries emergency alerts for things like flash floods, dam failures, and other hazards. As I mentioned earlier, this feature gave us critical, real-time warning about a potential dam break while we were downriver from it during our trip. Keeping NOAA scanning active on your radio is a simple but powerful safety feature during any emergency response.
Repeaters
A repeater is a device that receives a transmission on one frequency and rebroadcasts it on another, effectively extending your communication range far beyond what your handheld radio could achieve on its own.
Here’s the concept: imagine a repeater station mounted high on a mountaintop (this could even be a handheld radio configured to act as a repeater). It’s programmed to listen on one frequency and rebroadcast whatever it hears on a different frequency. Because of its elevated position and often higher power, that repeater can broadcast much farther than your handheld radio could alone — sometimes 50 or even 100 miles, depending on line of sight and terrain.
When you’re using a standard channel like 17, you’re transmitting and receiving on the same frequency, with a limited range. But when you use a repeater channel, you transmit on one frequency and listen on another, allowing your signal to be picked up and rebroadcast over a much greater distance. As an example, using a local repeater with just a 5-watt handheld radio, I was able to communicate with someone roughly 70 miles away — something that would be impossible on a direct, non-repeated frequency. You can usually find active repeaters in your area through a quick online search, and I was able to locate a few nearby that are regularly used.
Antennas
When it comes to antennas, I like to keep things simple. You can absolutely go down the rabbit hole of building your own custom antennas if you’re inclined toward that kind of tinkering, but for most people, a pre-made antenna purchased online will do the job just fine.
One handy piece of hardware is an NMO mount, which lets you screw an antenna onto a pre-installed base, making it easy to swap antennas as needed. There’s a wide selection of these available, and they plug right into the back of most radios. For my own setup, I use a dual-band antenna that cost under $30 on Amazon, mounted on my roof and connected to a mobile unit that serves as a base station at my cabin. It’s a simple, affordable setup that gets the job done without overcomplicating things.
Keeping It Simple for Real Emergencies
You can go as deep as you want into the technical side of radio communications — there’s always more to learn about repeaters, antennas, tones, and frequencies. But when it comes down to an actual emergency, what matters most is having a simple, reliable plan that everyone in your group understands.
GMRS makes that simplicity possible. Pick your channel, set your privacy code if you want one, program it into every radio in your group ahead of time, and you’re ready to go — no fuss, no muss. In the field, during a real emergency, you don’t want to be fumbling with settings or troubleshooting technical issues. Preparation ahead of time is what allows you to keep things simple when it counts.
In upcoming videos, I’ll be walking through how to actually program radios like the GM-30 and GM-30 Plus, along with a look at how I have my own base station set up so that my family and I can communicate effectively during a local emergency. If that sounds useful to you, subscribe to the channel so you don’t miss it.
Until then — stay consistent, stay diligent, and I’ll see you in the next video.