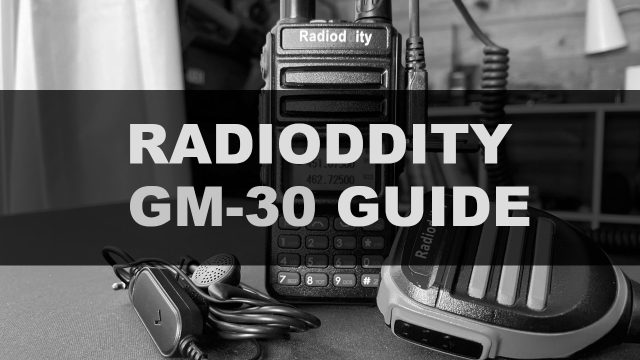
How To Program The Radioddity GM-30 Plus
Introduction
Building on the basic operations of the standard GM-30, the Radioddity GM-30 PLUS introduces enhanced flexibility—including dual-bank monitoring, custom channel memory programming, and advanced scan list management.
This guide covers how to clean up your audio preferences, access emergency weather channels, plug in custom frequencies, and map them into your daily scanning rotation.
🛠️ Menu Navigation & Initial Clean-Up
Before diving into frequencies, you can clear out the default voice prompts and keypad beeps so the radio stays quiet and efficient.
📱 Button Layout Reference
- 📱 Main Menu Button (Left): Opens the menu, selects options, and saves settings.
- ⬆️ ⬇️ Up/Down Arrows (Middle): Navigates through menus and options.
- 🔙 Exit / Back Button (Right): Returns to previous screens or exits the menu completely.
Steps to Turn Off Voice Prompts and Beeps:
- Press the 📱 Main Menu button once.
- Scroll down using the ⬇️ arrow to Radio Settings and press 📱 Menu.
- Scroll down to option 9 (Voice) and press 📱 Menu.
- Use the ⬆️ arrow to select Off, then press 📱 Menu to save. (The radio will confirm “Save. OK”).
- Scroll down to the Beep option, press 📱 Menu, select Off with the arrow, and press 📱 Menu to save.
- Press the 🔙 Exit button twice to return to the main screen.
☁️ NOAA Weather & Emergency Scanning
Like the base model, the GM-30 PLUS features a dedicated bank for NOAA weather and regional hazard alerts.
- Open Weather Mode: Press and hold the zero (0) key (which features a half-square icon) for a few seconds.
- Start Weather Scan: Press and hold the scan button (the Z-symbol key) next to the pound symbol. The radio will cycle through NOAA frequencies until it picks up an active broadcast.
- Stop/Manual Select: Hold the Z-symbol scan button again to stop scanning, or use the ⬆️ ⬇️ arrows to jump directly to your region’s pre-programmed local weather channel.
- Exit Weather Mode: Press and hold the zero (0) key again to return to the main operating screen.
🎛️ Using P1 and P2 Shortcut Keys
The GM-30 PLUS features two programmable side/front keys that streamline switching between banks and modes:
- P1 Key: Toggles between Channel Mode (indicated by a channel number in the upper right, like
009) and Frequency/VFO Mode (indicated byVFO). - P2 Key: Switches active focus between the top frequency bank and the bottom frequency bank. This allows you to monitor two different channels or a channel and a custom frequency simultaneously.
📻 Programming Custom Frequencies & Memory Channels
While GMRS channels occupy slots 1 through 30, the GM-30 PLUS lets you store custom listening frequencies (such as local fire, EMS, or sheriff dispatch) into memory slots 31 through 100. Slot 40 is a great, safe starting point.
Step 1: Tune the Custom Frequency
- Ensure you are in Frequency Mode (press P1 until
VFOappears in the corner). - Use the keypad to punch in your target frequency (e.g., local EMS dispatch at
460.50). You will immediately be able to listen in.
Step 2: Assign It to a Memory Channel (e.g., Channel 40)
- Press the 📱 Main Menu button.
- Scroll down to Program Channel, then select Channel Memory (Option 15) and press 📱 Menu.
- Scroll down to channel 40 and press 📱 Menu.
- The screen will display “Save. OK”.
- Press the 🔙 Exit button twice.
Step 3: Enable Scanning for the Custom Channel
To make sure channel 40 is included when you scan your normal GMRS channels:
- Switch to channel mode and tune to channel 40 (
040). - Press the 📱 Main Menu button.
- Scroll down to Program Channel, then find the Scan Add option and press 📱 Menu.
- Set it to On and press 📱 Menu to save.
- Exit back to the main screen using the 🔙 Exit button.
🔄 Running the Scan Routine
Now that your custom channel is added to the scan list:
- Press and hold the Z-symbol scan button next to the pound key.
- The radio will cycle smoothly through all standard GMRS channels plus your newly programmed custom monitoring channels (like Channel 40).
- To stop scanning, press and hold the Z-symbol scan button once more.