How to Install and Configure SDR Trunk with RTL-SDR on Windows 11

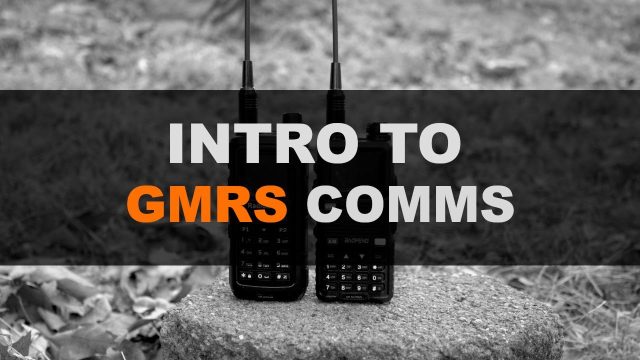
If you’ve been wanting to monitor GMRS frequencies, fire and EMS dispatch, or local police communications from your computer, SDR Trunk paired with an RTL-SDR dongle is an excellent solution. This guide will walk you through the entire setup process, from installing the necessary drivers to programming your first frequencies.
Watch Here: https://www.youtube.com/watch?v=NRsXKbd5Mvc
What You’ll Need
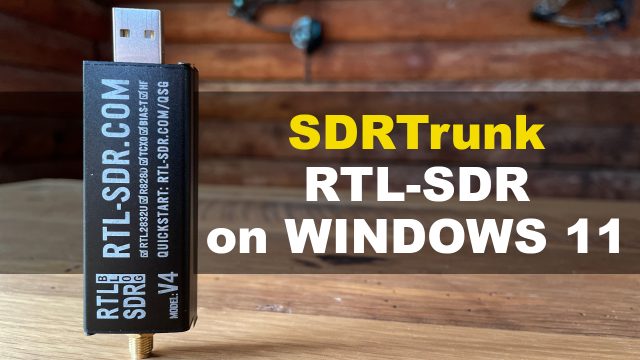
Before we dive into the software setup, let’s cover the hardware requirements. For this tutorial, we’re using a standard RTL-SDR dongle with the included bunny ears antenna. Don’t underestimate this basic antenna—it’s perfectly capable of picking up GMRS frequencies, local repeaters, fire and EMS dispatch, and even DMR (digital mobile radio) frequencies from nearby agencies.
Important USB Note: The RTL-SDR works best with standard USB ports, not USB 3.0. You can identify USB 3.0 ports by their blue interior coloring. Stick with a regular USB port (typically black or white inside) for best results.
Step 1: Download the Required Software
You’ll need two programs to get started:
- SDR Trunk – Available from the SDR Trunk GitHub releases page
- Zadig – Download here
When downloading SDRTrunk for Windows, choose the x86-64 version unless you’re running an ARM-based processor (which is unlikely for most desktop and laptop systems).
Step 2: Update Your RTL-SDR Drivers

Before launching SDR Trunk, you need to ensure your RTL-SDR has the correct drivers installed.
Warning: Make sure to use Bulk-in, Interface (Interface 0) or you could brick something on your computer!
- Plug your RTL-SDR dongle into a standard USB port on your Windows 11 computer
- Open Zadig
- Navigate to Options and select List All Devices
- From the dropdown menu, select Bulk-in Interface 0 (MAKE SURE THIS IS RIGHT!)
- You should see the current driver on the left and WinUSB on the right
- If the left side shows “none,” click Install to update the firmware
Once the driver installation completes, you’re ready to move on to SDR Trunk.
Step 3: Install SDR Trunk
- Locate the SDR Trunk download in your Downloads folder
- Right-click the file and select Extract All
- Navigate into the extracted folder: SDR Trunk Nightly > [version folder] > bin
- Double-click start-sdtrunk.bat
- Click Run when prompted
A console window will appear with text scrolling by as the Java interpreter starts up. You may see a prompt about CPU calibration. You can skip this for now by clicking Cancel, though you might want to run it on a future startup (be warned—it takes considerable time).
Step 4: Adding Your First Frequencies
Once the main SDR Trunk window appears, you’ll see the waterfall display showing frequency activity. Here’s how to program frequencies:
- Click on Playlist in the menu
- Select Channels
- Click New
- Choose NBFM (Narrowband FM) for most analog frequencies
- Enter a system name and channel name (for example, “Augusta County Sheriff”)
- Enter the frequency (such as 460.400 for a sheriff’s frequency)
- Click Save
To add additional frequencies, you can either create new channels or use the Clone feature to duplicate an existing channel and modify the details.
Step 5: Listening to Frequencies
To monitor a programmed frequency:
- Select the channel from your playlist
- Click Play
- Adjust your volume as needed
You can monitor multiple frequencies simultaneously by selecting and playing multiple channels. The visual waterfall display will show transmission activity even when audio playback is paused, letting you see when conversations are happening on monitored frequencies.
Tips for Using SDR Trunk
Zooming: Hold Control and use your mouse wheel to zoom in and out on the frequency display for a better view of specific channels.
Auto-start: You can configure channels to automatically start monitoring when you launch SDR Trunk, so your preferred frequencies are always ready.
GMRS Frequencies: If you’re setting up GMRS channels, select MBFM (Medium Band FM) instead of NBFM when creating new channels.
Visual Monitoring: The waterfall display provides a visual representation of radio activity. You’ll see peaks when transmissions occur and breaks between conversations, making it easy to monitor channel activity at a glance.
Troubleshooting
If you encounter issues during setup, double-check that you’re using a standard USB port rather than USB 3.0, and verify that the Zadig driver installation completed successfully. The RTL-SDR should appear as “Bulk-in Interface 0” in Zadig when properly connected.
Conclusion
With SDR Trunk properly configured, you now have a powerful software-defined radio setup for monitoring various radio frequencies right from your computer. Whether you’re interested in listening to GMRS communications, keeping tabs on local emergency services, or exploring other frequencies, this setup provides an accessible entry point into the world of radio monitoring.
The combination of affordable RTL-SDR hardware and free, open-source SDR Trunk software makes this hobby more accessible than ever. Happy monitoring!